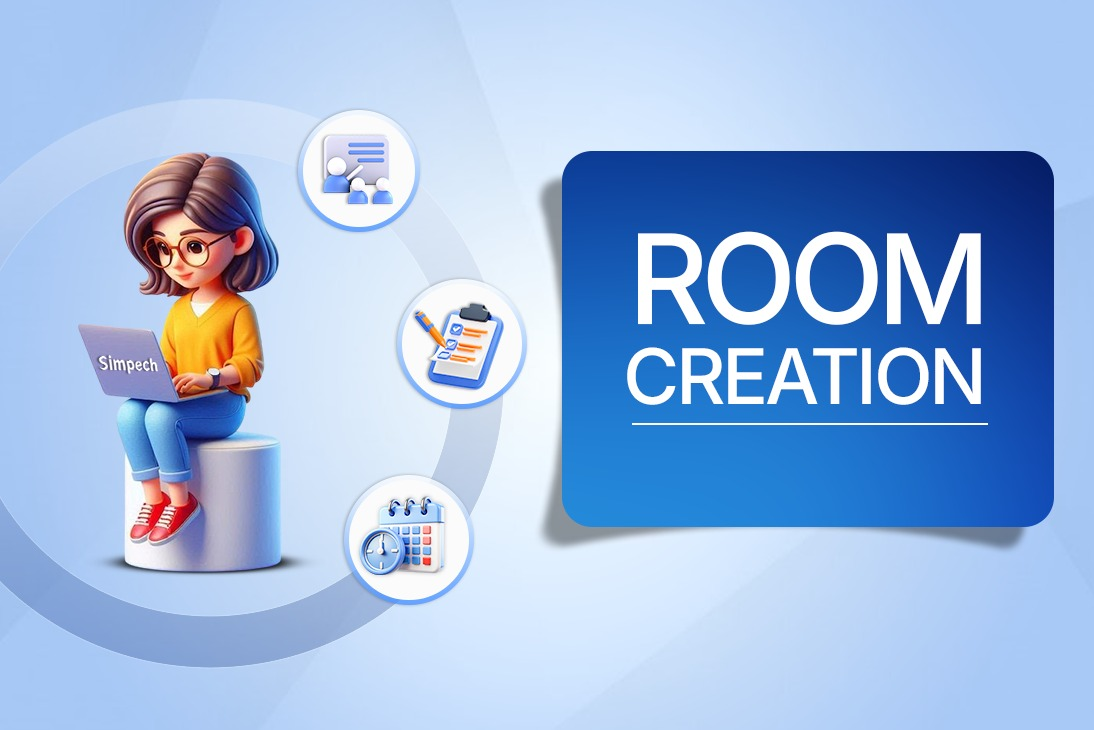
Creating your first online class in a Simpech virtual classroom is very quick and easy. Whether you're a teacher, trainer, or hosting an online session, follow these simple steps to set up your own virtual classroom.
So let's get started.
1 . Go to “Create your first room”
Once you log in to your Simpech account, click on “Create your first room”
This is your starting point for setting up a class.
2 . Enter the title for your class

Give your class a title, it can be the subject or topic name you are going to teach.
For example:
Biology Class ( topic: photosynthesis)
English grammar session
The title should be short but descriptive, so your students know exactly what they are going to teach.
3 . Write a description

In the description box, explain your topic in detail about what your students will cover in this class.
For example:
In this class I am going to teach you how plants make their own food through photosynthesis.
This helps participants and students to understand what to expect before joining.
4 . Set date and time zone
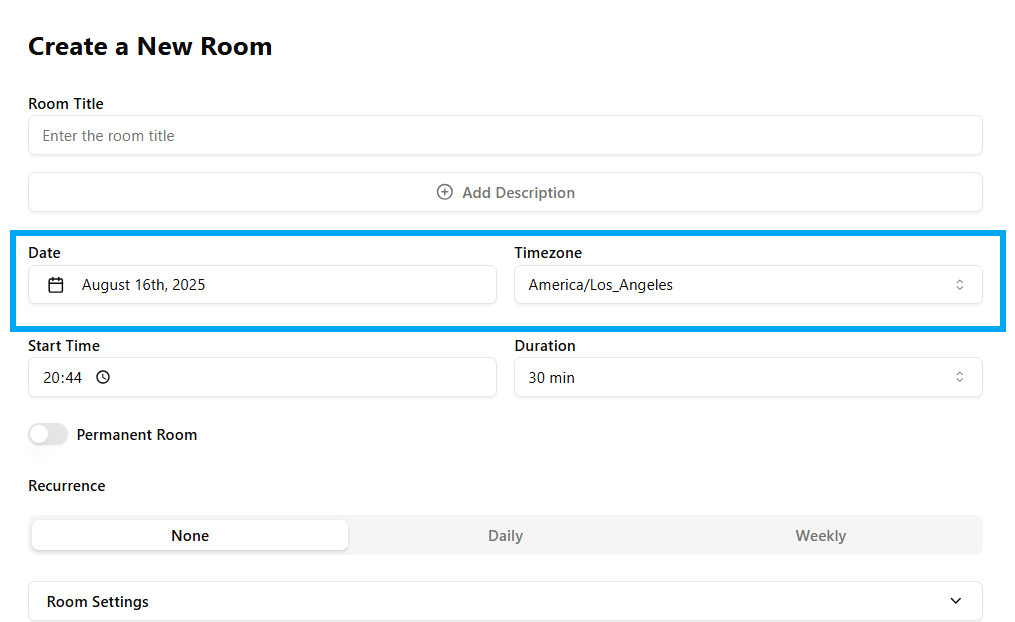
Pick the date when your class will start. The timezone is used for class to calculate the right time for different users in different timezones.
5. Start time and duration:
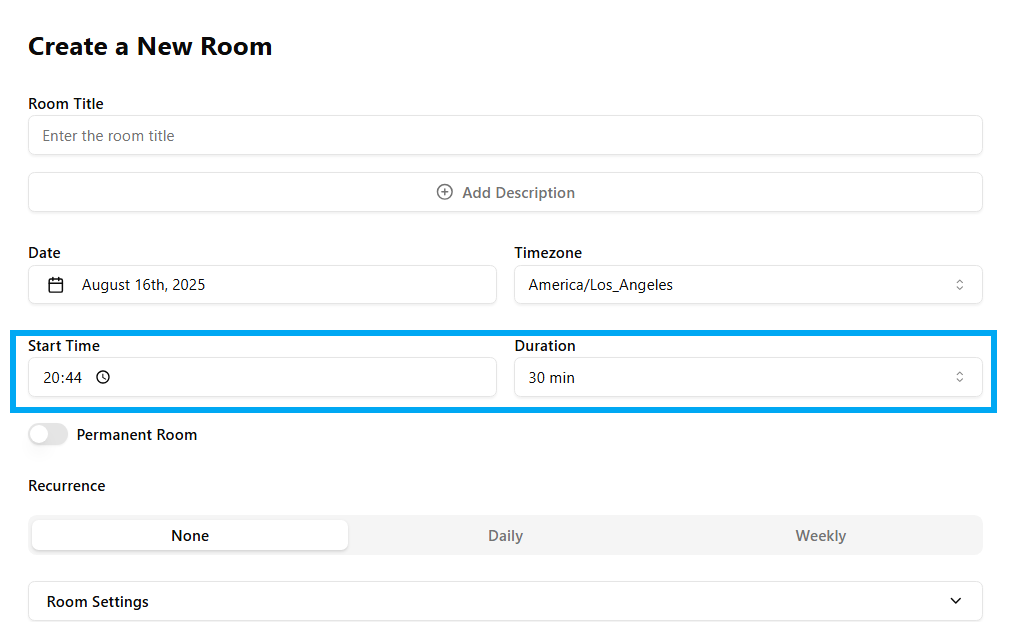
Set you time and duration according to your schedule and availability. The minimum time duration is 30 minutes you can change it.
6. Permanent room
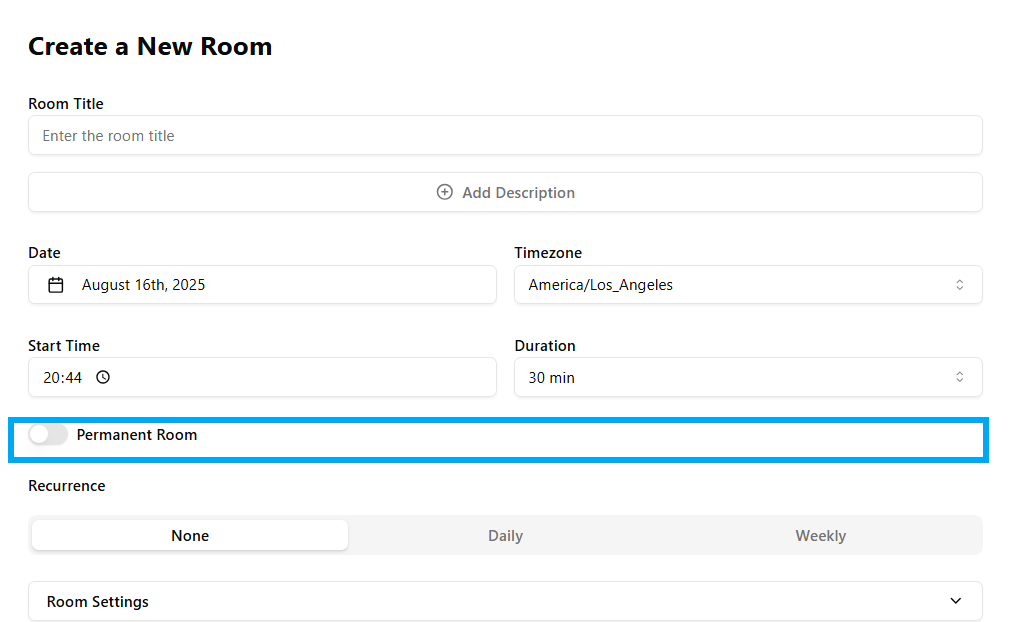
If a permanent room is on it means your class will not be deleted after completion. When you turn it off your class will automatically delete after it's done.
7 . Set recurrence (Optional)

If you want your class to happen regularly like every monday at 10 AM, choose the recurrence option.
You can set it to repeat daily, weekly, or monthly.
8 . Customize classroom layout

Simpech allows you to choose how your classroom looks. You can customize your classroom the way you want.
There are three layouts in the live class.
Classroom → best for taking classes with whiteboard
Meeting → best for doing discussions where whiteboard is needed
Whiteboard → use when you only want to show your whiteboard on your screen
You can also change this layout during the class.
9 . Enable auto record session (Optional)

If you want to keep a copy of your session for absent students or those who cannot attend the class for some reason, you can turn on auto record
Recordings will be generated in high quality, mp4 standard format. It will be available after class completion and can be shared with anyone VIA url.
10 . Set access control

Decide who can join your classroom, according to you needs.
Waiting room:This is where you wait before the virtual class starts. Think of it like standing outside the classroom until the teacher lets you in.
Login Required:Allow users to sign in with username and password to join the class. This keeps the classroom safe and only for the right people.
Focus Mode: Focus Mode hides all extra stuff on your screen during class. It helps you pay attention to what the teacher is showing or saying
11. Chat group:
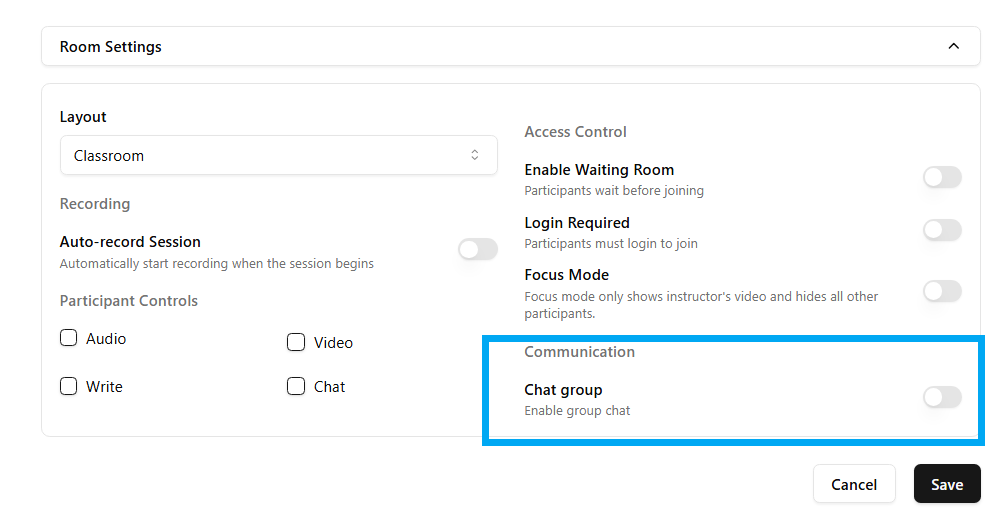
Chat groups are like discussion groups where students can talk with each other and share information on different topics.Chat groups promote real time and provide students direct connection with teachers and classfellows.

