
How to Use Notes in Simpech Virtual Classroom (Step-by-Step Guide)
Managing ideas, reminders, and learning notes can quickly become overwhelming, especially when everything is happening online. That’s why Notes in Simpech Virtual Classroom are designed for both instructors and students.
The best part?
Every note is completely private.
Only the person who creates the note can see it.
Let’s walk through how the Notes feature works, step by step.
Step 1: Open the Notes Section
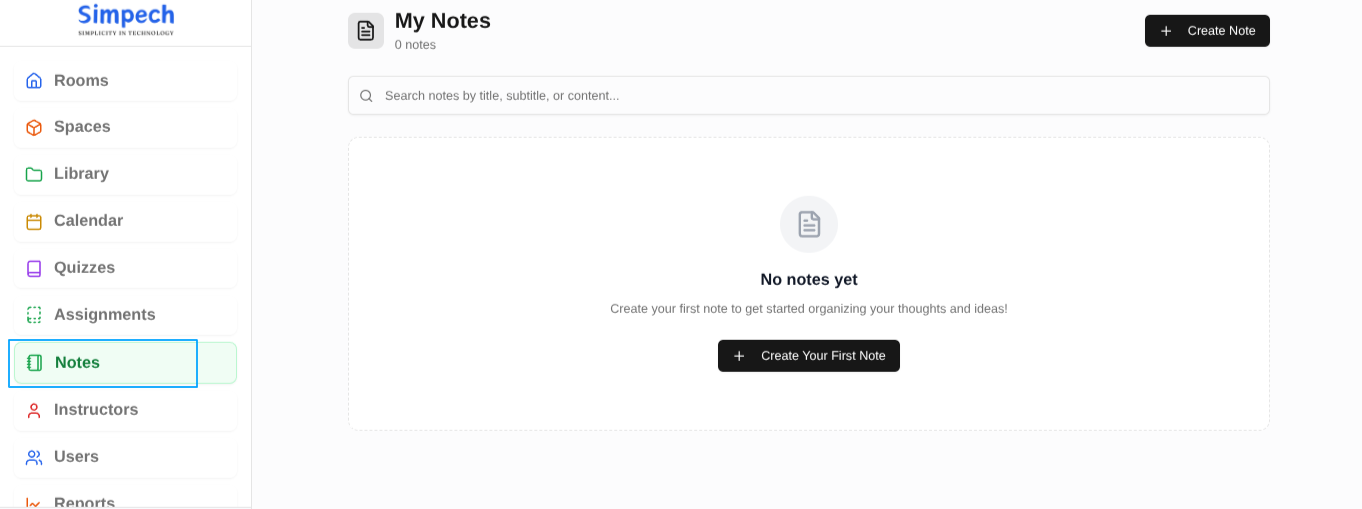
After logging into Simpech Virtual Classroom:
Look at the left sidebar
Click on Notes
This opens the My Notes page, which is your personal note space inside Simpech.
Whether you are a teacher planning lessons or a student taking study notes, this space is just for you.
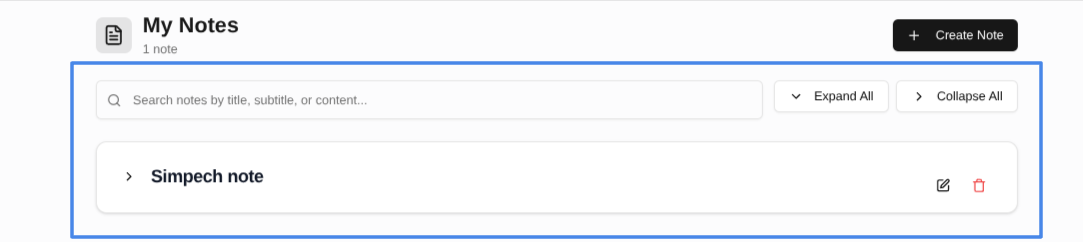
Step 2: Understand the “My Notes” Page
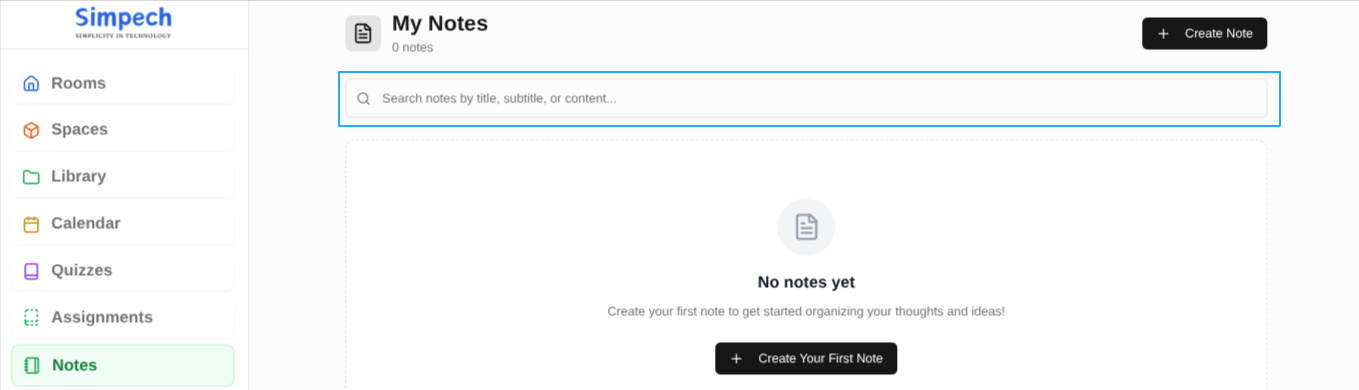
If you are using Notes for the first time, you will see:
A search bar to find notes later
From here, you can search for the notes you have created.
Step 3: Create a New Note
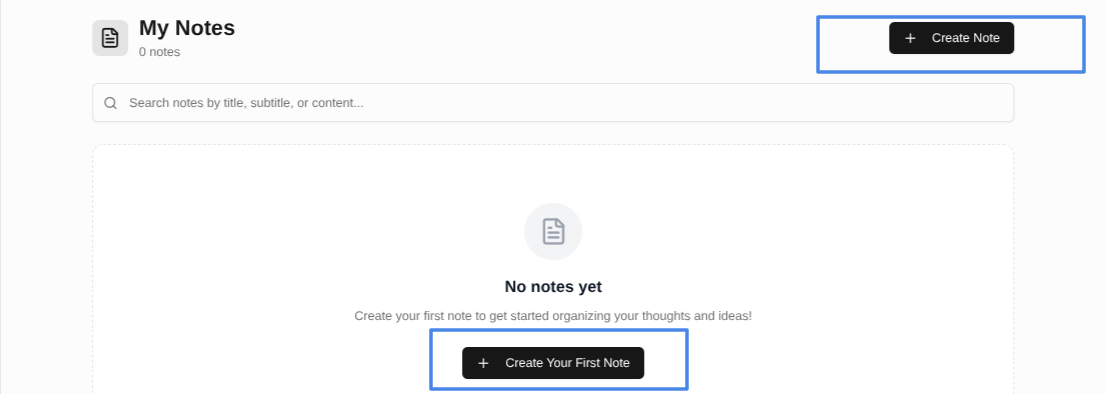
You can create a note in two easy ways:
Click Create Your First Note from the center
orClick + Create Note from the top right corner
Both options take you to the same screen.
Step 4: Add Note Details

On the Create New Note screen, you will see the Note Details section.
Title (Required)
This is the main heading of your note.
Examples:
Physics Lecture Summary
Weekly Study Plan
Ideas for Next Class
Subtitle (Optional)
A short description to explain what the note is about.
Examples:
Key points and formulas
Things to revise before the test
This helps a lot when you have many notes.
Step 5: Write Your Note Content
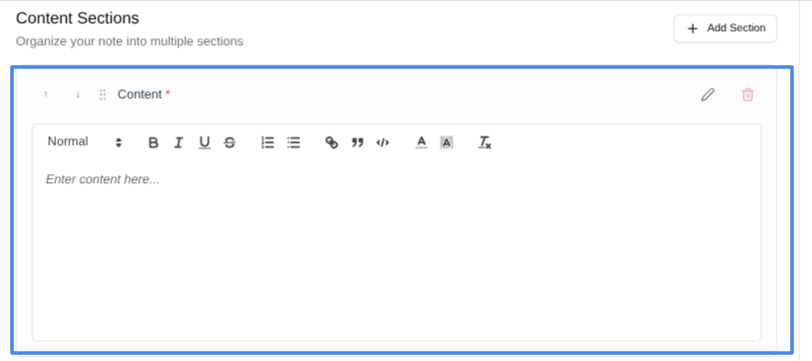
Below the note details is the Content Section.
This is where you actually write your note. The editor allows you to:
Write freely
Use bold, italics, or bullet points
Add links or structured text
Organize your thoughts clearly
It feels like a simple digital notebook.
Step 6: Add Multiple Sections (Optional)

For longer notes, you can keep things organized.
Click + Add Section
A new content block appears
Use different sections for different topics
For example:
Section 1: Class concepts
Section 2: Questions to ask
Section 3: Homework reminders
This works well for both lesson planning and student study notes.
Step 7: Edit or Delete Sections
Each content section comes with simple actions:
Edit to update the content
Delete to remove a section
You can update your notes anytime.
Step 8: Save Your Note
Once your note is ready:
Click Create Note
If you do not want to save:
Click Cancel
Your note will now appear in your Notes list.
Privacy: Who Can See Your Notes?
This is important.
Notes are completely private
Only the person who creates the note can access it
Students cannot see teachers’ notes
Teachers cannot see students’ notes
Other users have no access
Your notes stay personal and secure
Why Notes in Simpech Are Useful
Helpful for students to save study notes and revisions
Useful for teachers to plan lessons and ideas
No need for external note-taking app
Everything stays inside Simpech
Private, secure, and easy to manage
Final Thoughts
The Notes feature in Simpech Virtual Classroom works like your personal digital notebook.
Simple to use, completely private, and always available when you need it.