
How to Use Simpech Spaces
Simpech Spaces simplify the process of handling and organizing your virtual classroom. You can see the spaces that already exist, filter them according to roles, or you can even design a new space of your own.
Go through the steps given below to know how to use this feature.
Get to the Spaces Option
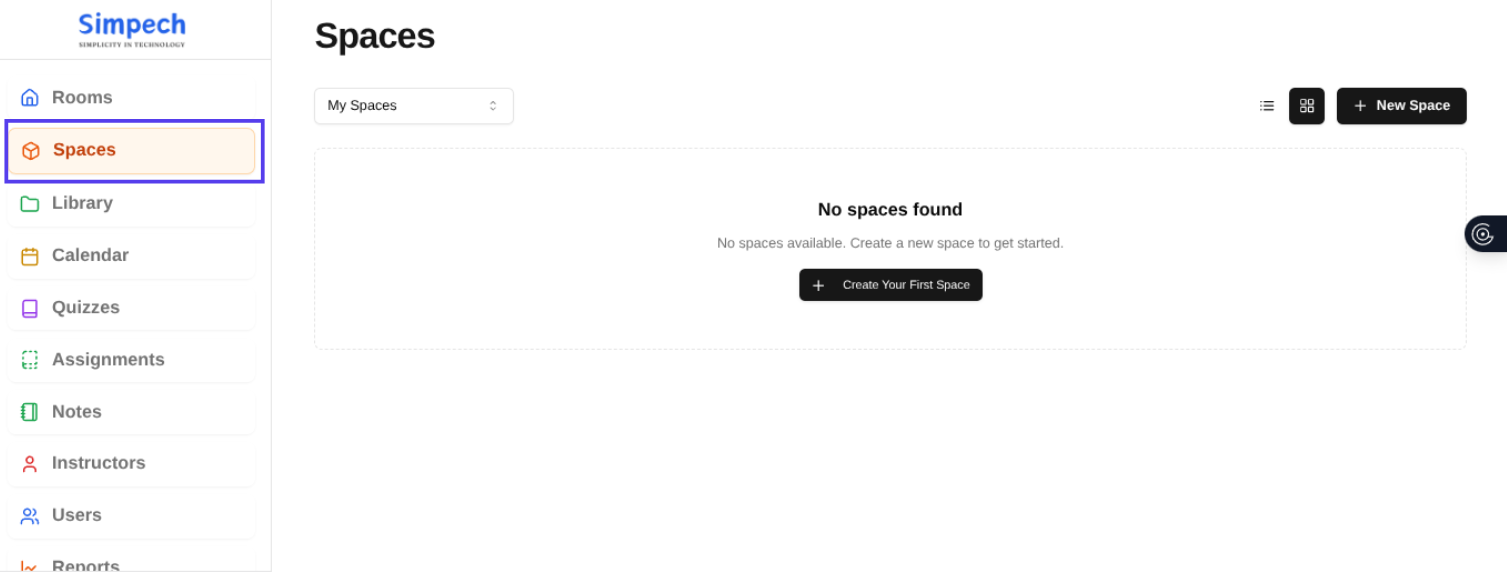
From the main Simpech Virtual Classroom interface, go to the Spaces option. This will take you to the space where you will be able to handle all your spaces.
Switch the View of Spaces

Within the Spaces feature, you can have your list as "My Spaces" or "All Spaces."
My Spaces indicates only those spaces that you are a member of.
All Spaces indicates all available spaces in the classroom.
You can also use filters to view spaces by Admins or Learners, based on what you are searching for.
Switch Between Grid and List Views
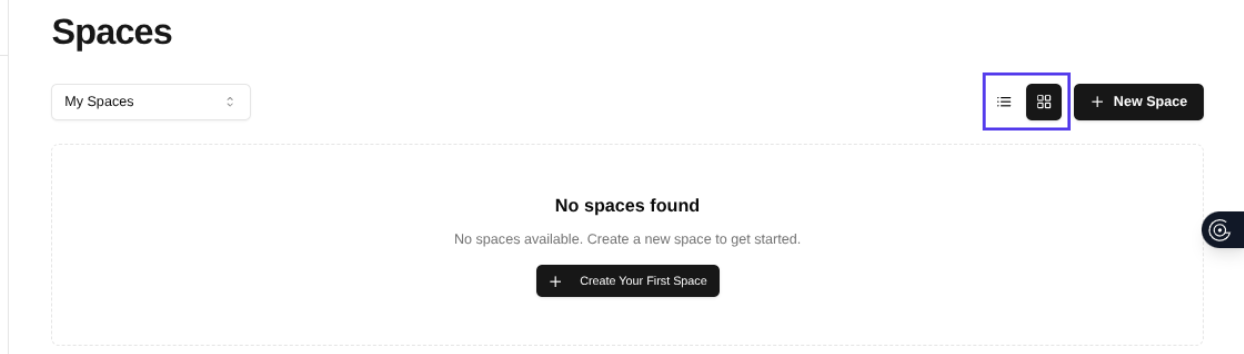
At the top of the Spaces section, there are icons for Grid view and List view.
Tap on the Grid icon to view spaces in card format.
Tap on the List icon to view them as a plain list.
Select which view you'd prefer to be more convenient.
Creating Your Own Space
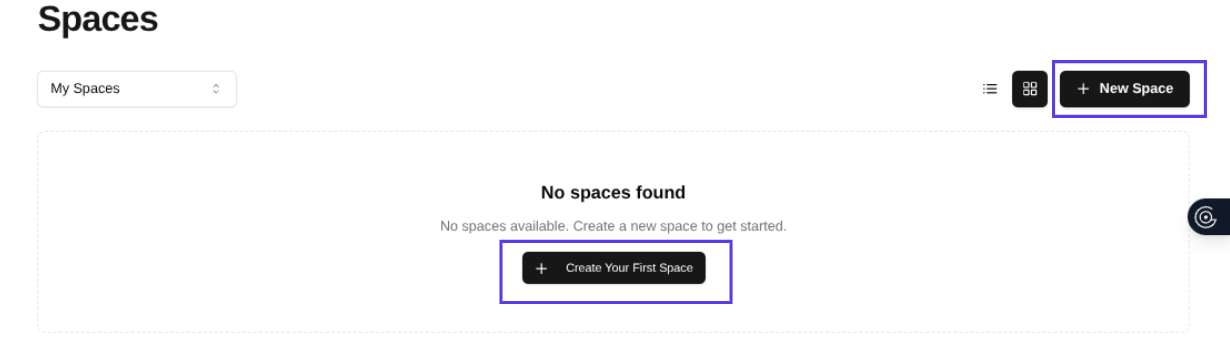
If you prefer to create a new space for your learners or team, take the following steps:
Give Your Space a Name: Select a name that best suits your work.
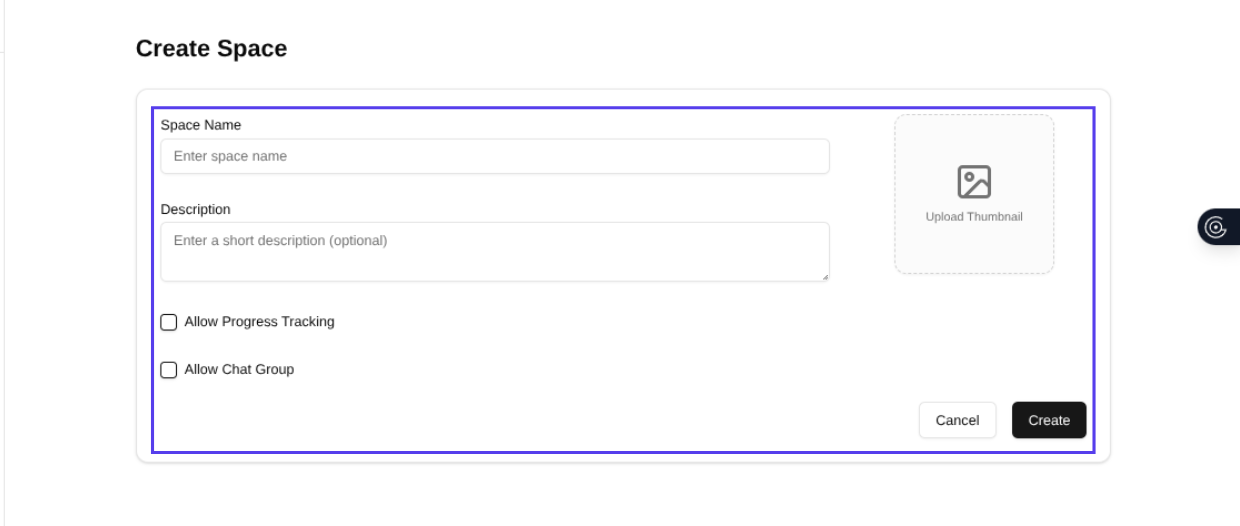
Add a Description: Describe the purpose of the space so that people know about it.
Add a Unique Thumbnail: Add an image that makes your space quickly recognizable.
Allow Progress Tracking: Activate this setting if you want to track learning progress.
Allow Chat Groups: Turn this on to foster communication and collaboration within the space.
Click on Create: Once you have everything configured, click the Create button to save your changes. Your space is now live.